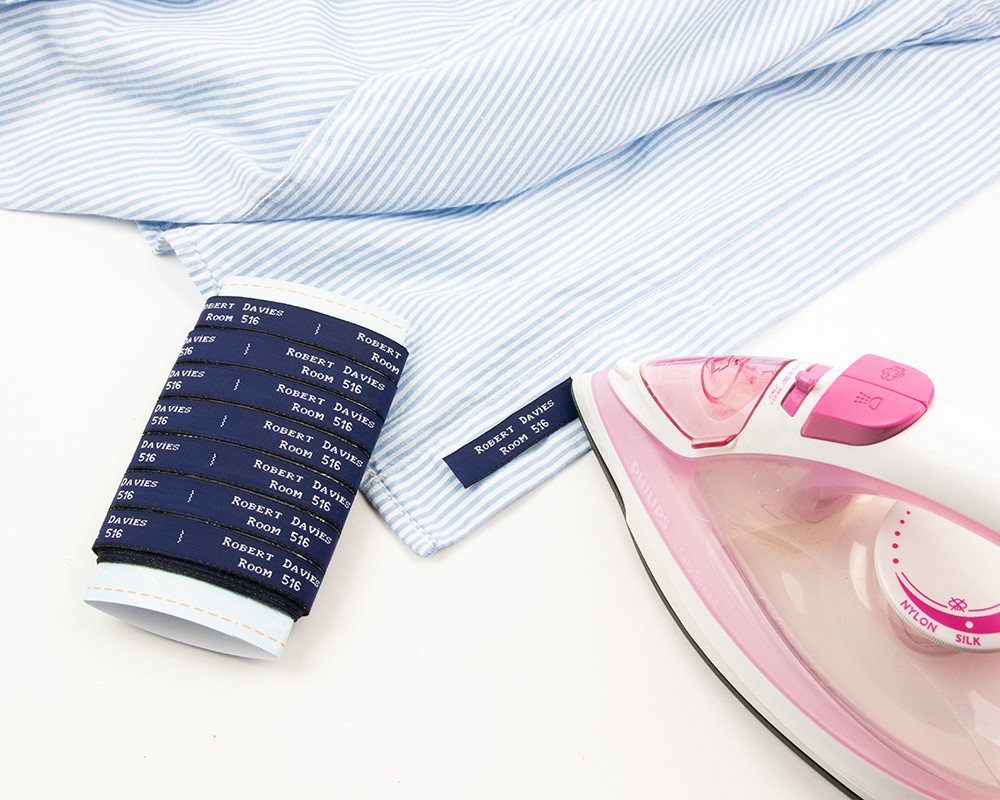
If you choose iron-on labels, you choose optimal ease of use. You order them with your own text and choose your desired colors and apply them quickly and easily to your clothes or other textiles. In this blog we give you 4 tips for applying iron-on labels.
1. A hot iron
When you go to apply your personalized iron-on labels, make sure your iron is well hot. This is because the adhesive layer of the label must fuse with the fabric you are ironing it on. Therefore, put your iron on setting 3 (linen) and do not use steam. We recommend a traditional iron with a stainless steel soleplate and where the iron does not automatically adapt to the fabric being ironed on.
Should the labels come off in the wash, it means that they have not been ironed in hot enough and the adhesive layer has not fused with the fabric. You can then try ironing in the labels again.
2. No iron? Use a hair straightener!
Don’t have a traditional iron at home but do have a hair straightener? You can also use your straightener to apply your labels. Set the temperature of your straightener to 200 degrees Celsius and always use a cotton cloth between both sides of the straightener and the garment and iron-on label.
3. Rib or stretch fabric? Attach the labels in the right direction
Do you want to attach the iron-on labels to a rib fabric or to a stretch fabric? Then make sure you attach the labels in the right direction. For ribbed fabrics, place the label facing the direction of the rib (not crosswise). That way, the label’s adhesive layer will have sufficient grip on the fabric. With stretch fabric, attach the label in the direction that does not stretch. This is because the fabric of the label itself does not stretch, so if you do attach the label to a stretch fabric, the label or your fabric may be damaged or your label may come off. Does the fabric stretch in all directions? Then it is better to choose a sew-in label.
4. Follow the ironing instructions, iron long enough and use a cotton cloth if necessary
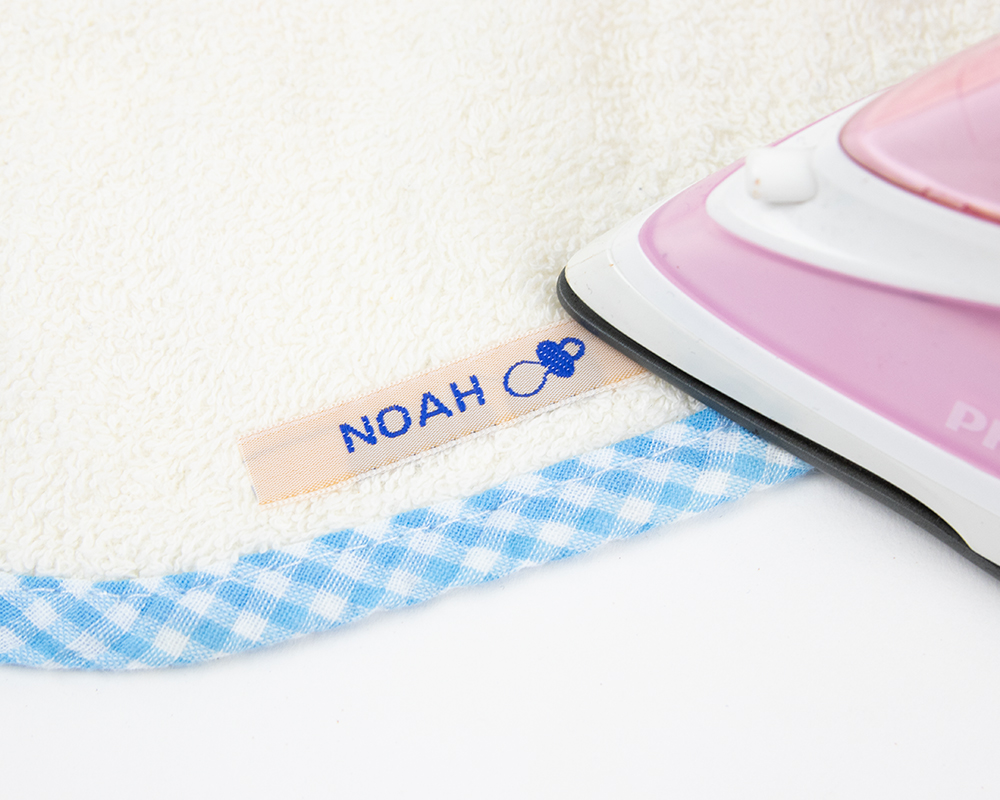
Our iron-on labels always come with ironing instructions. You will find these on the packaging of your labels, and on our website. Make sure to hold the iron for +- 15 seconds on the labels, applying firm pressure. Any traces of adhesive around the label will disappear completely after ironing. On cotton, ironing the labels should not cause any problems. If the fabric is more delicate, we recommend placing a cotton cloth between the iron and fabric + label.
Still have a question about our iron-on labels? Contact us!
If you still have a question about our iron-on labels after reading these tips, please check our FAQ or contact us. Our multilingual customer service is ready to give you advice and answer your questions.